Disk Health on Linux: smartctl, badblocks, and RAID Recovery
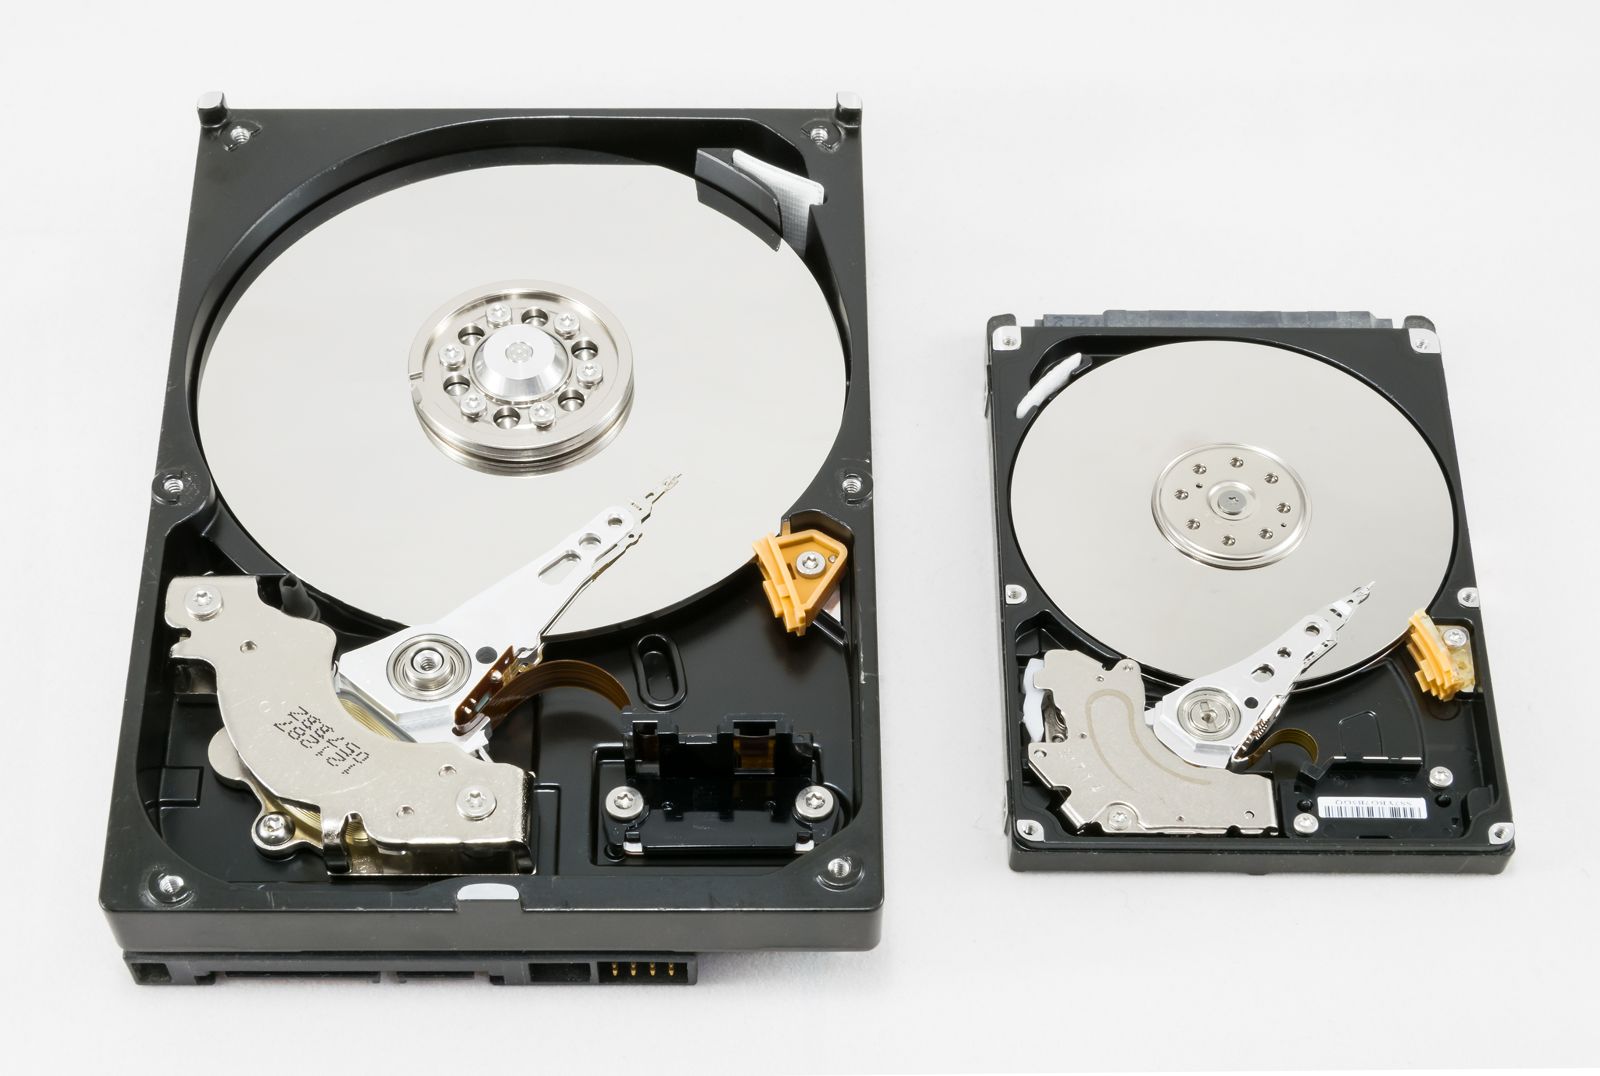
Drives rarely fail without warning. Between SMART counters creeping upward and a mdadm array quietly dropping a member, the signs are almost always there before data is actually lost — if something is watching for them. This post covers reading disk health with smartctl, scanning for bad sectors, and recovering a degraded RAID array.
Installing smartmontools
SMART (Self-Monitoring, Analysis, and Reporting Technology) is built into the drive firmware; smartmontools is just the userspace client that talks to it.
1
2
3
4
5
6
7
sudo apt install smartmontools   # Debian/Ubuntu
sudo dnf install smartmontools   # RHEL/CentOS/Fedora

# List drives smartctl can see
sudo smartctl --scan
# /dev/sda -d ata # /dev/sda, ATA device
# /dev/sdb -d ata # /dev/sdb, ATA device
Tip: On hardware RAID controllers, smartctl often can’t see the physical disks directly behind the controller. You may need the controller’s own CLI (e.g. storcli, megacli, arcconf) or a -d megaraid,N style device syntax.
Checking Overall Health
The single most useful command is the overall health self-assessment, which the drive computes itself from its internal thresholds.
1
2
sudo smartctl -H /dev/sda
# SMART overall-health self-assessment test result: PASSED
Tip: A PASSED result means no monitored attribute has crossed its failure threshold yet. It is not a guarantee the drive won’t fail tomorrow — it’s a lagging indicator, not a predictive one. Watch the raw attribute values too.
Reading Key SMART Attributes
The full attribute table tells a more useful story than the pass/fail summary alone, especially for attributes that trend toward failure well before the threshold is crossed.
1
2
3
4
5
6
sudo smartctl -A /dev/sda
# ID# ATTRIBUTE_NAME          VALUE WORST THRESH RAW_VALUE
#   5 Reallocated_Sector_Ct   100   100   010     0
#   9 Power_On_Hours          096   096   000     31210
# 197 Current_Pending_Sector  100   100   000     0
# 198 Offline_Uncorrectable   100   100   000     0
Tip: Watch three attributes above all others: Reallocated_Sector_Ct (sectors already remapped), Current_Pending_Sector (sectors waiting to be remapped, i.e. suspect but not yet confirmed bad), and Offline_Uncorrectable. Any of these rising from zero is a reason to plan a replacement, not a reason to panic immediately.
Running Self-Tests: Short vs Extended
SMART attributes update passively during normal use, but a self-test actively exercises the drive and is far more likely to catch a developing problem.
1
2
3
4
5
6
7
8
9
10
# Short test: a few minutes, checks electrical and mechanical basics
sudo smartctl -t short /dev/sda

# Extended test: can take hours, scans the full surface
sudo smartctl -t long /dev/sda

# Check progress and results
sudo smartctl -l selftest /dev/sda
# Num  Test_Description    Status                  Remaining  LifeTime(hours)
#   1  Extended offline    Completed without error  00%        31198
Tip: Run the extended test overnight or over a weekend on production drives — it generates real I/O load and will measurably affect performance while running.
Scheduling Automatic Checks with smartd
Nobody remembers to run smartctl by hand on a schedule. smartd is the daemon that does it for you and emails or logs when something crosses a threshold.
1
2
3
4
5
6
7
sudo systemctl enable --now smartd

# /etc/smartd.conf: monitor all attributes, mail on problems, run a short test daily and long test weekly
cat /etc/smartd.conf
# /dev/sda -a -m [email protected] -s (S/../.././02|L/../../6/03)

sudo systemctl reload smartd
Tip: The -a flag monitors all SMART attributes and tests, which is the sane default. Without it, smartd only watches health status and a small attribute subset, missing the early-warning signs covered above.
Scanning for Bad Blocks
badblocks reads (and optionally writes) every sector of a device to find ones the drive can’t reliably service. This is destructive when run in write mode — never point it at a mounted filesystem or a disk holding data you care about.
1
2
3
4
5
6
# Read-only scan, safe on a live filesystem, just slower to catch everything
sudo badblocks -sv /dev/sdb

# Non-destructive read-write test: only safe on a drive with NO data you need,
# since it overwrites every block with a pattern and reads it back
sudo badblocks -svw /dev/sdb
Tip: -svw destroys all data on the target device. Only run it against a drive that’s been wiped or is brand new and not yet partitioned. For anything already in service, stick to -sv (read-only) and lean on SMART’s Current_Pending_Sector/Offline_Uncorrectable counts instead.
Recognizing a Degraded mdadm Array
A RAID array doesn’t go down loudly when one member fails — it keeps serving reads and writes from the remaining disks, which is exactly why it’s easy to miss.
1
2
3
4
5
6
7
8
9
cat /proc/mdstat
# md0 : active raid1 sdb1[1] sda1[0](F)
#       976630464 blocks super 1.2 [2/1] [_U]

sudo mdadm --detail /dev/md0
# State : clean, degraded
# Number   Major   Minor   RaidDevice State
#    0       8        1        0      faulty   /dev/sda1
#    1       8       17        1      active sync   /dev/sdb1
Tip: [_U] in /proc/mdstat means one slot in the array is down (_) and one is up (U). Count the letters to know how many of your members are actually missing before you decide this is urgent.
Replacing a Failed RAID Member
Once a replacement disk is in the machine, pulling the faulty member and adding the new one back in is a short, well-defined sequence.
1
2
3
4
5
6
7
8
9
# Remove the faulty member from the array
sudo mdadm /dev/md0 --remove /dev/sda1

# Partition the new disk to match, then add it back
sudo mdadm /dev/md0 --add /dev/sdc1

# Confirm it's rebuilding
sudo mdadm --detail /dev/md0
# Rebuild Status : 4% complete
Tip: If the array is [_U] and you physically swap the bad disk first, mdadm won’t automatically know a new disk arrived — you still need the explicit --add step after partitioning it to match the existing member’s layout.
Monitoring Resync Progress
A rebuild can take hours on large disks, and the array is running without redundancy for the entire duration — worth watching closely.
1
2
3
4
watch -n 5 cat /proc/mdstat
# md0 : active raid1 sdc1[2] sdb1[1]
#       976630464 blocks super 1.2 [2/1] [_U]
#       [=====>...............]  recovery = 24.3% (238234112/976630464) finish=98.2min speed=124583K/sec
Tip: Resync speed is throttled by /proc/sys/dev/raid/speed_limit_min and speed_limit_max. If a rebuild is competing with production I/O, you can lower the minimum temporarily; just remember the array has no redundancy until it finishes, so don’t stretch it out longer than necessary.