Samba and CIFS: Sharing Files Between Linux and Windows
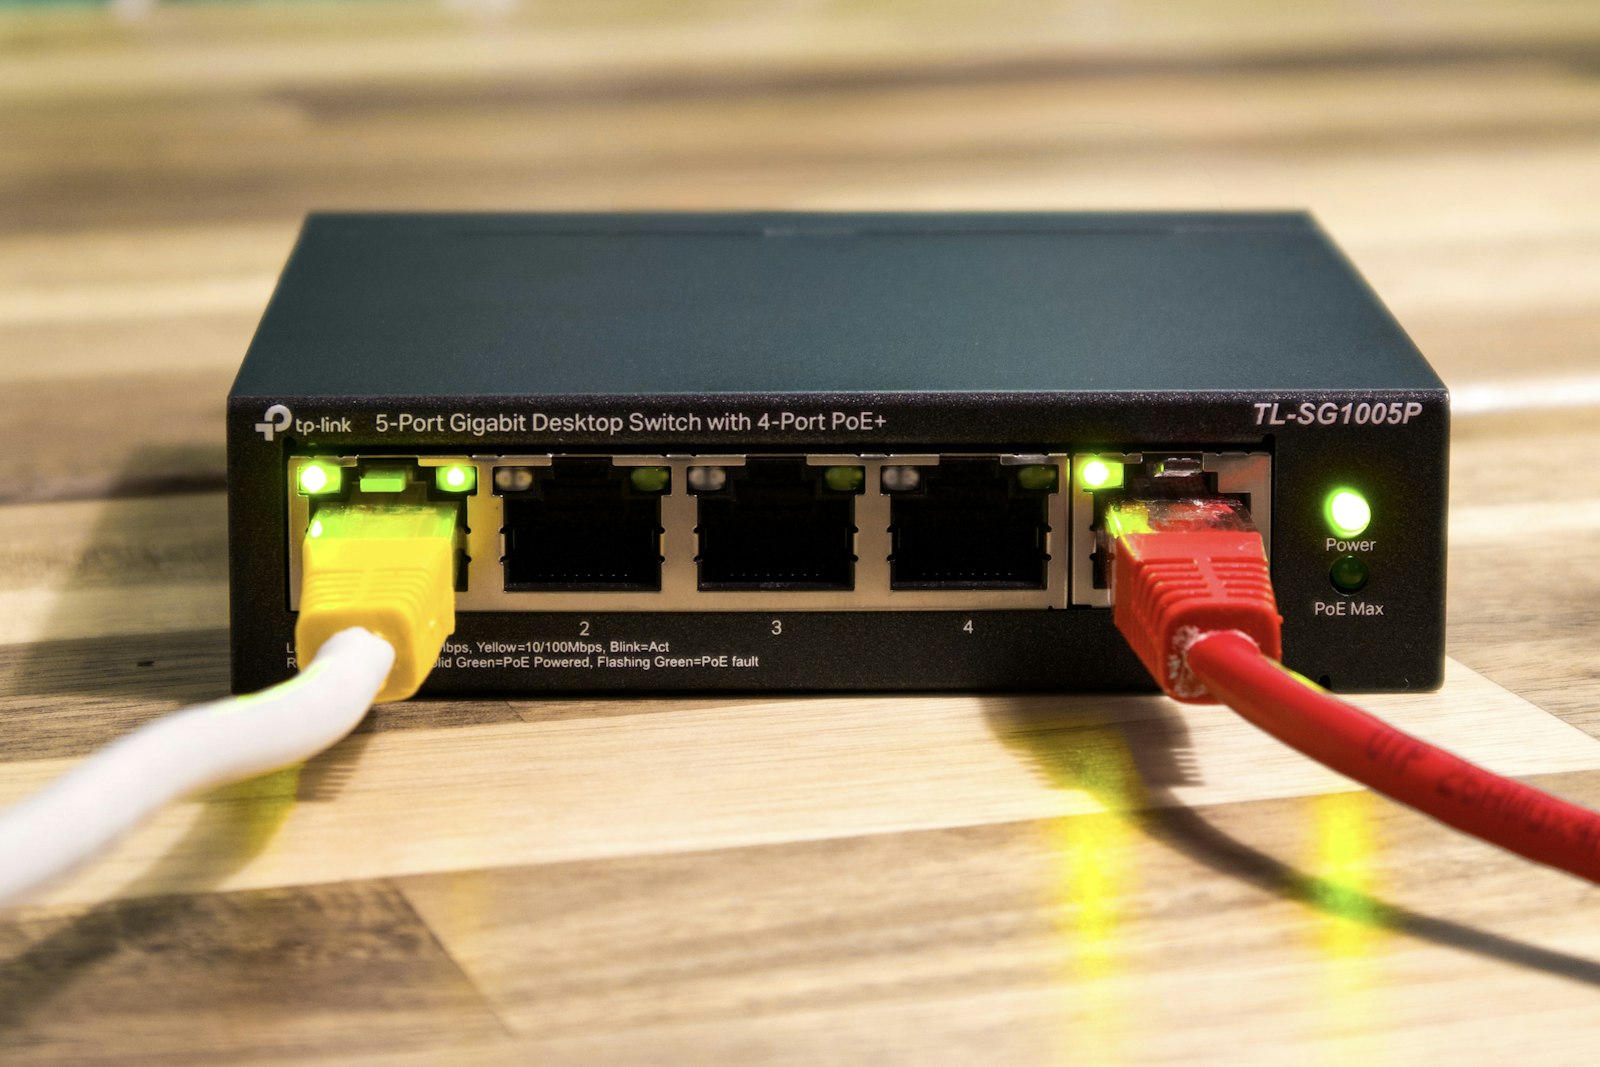
NFS is the native way Linux boxes share files with each other, but the moment a Windows machine, a NAS appliance, or a mixed office network enters the picture, SMB/CIFS is the protocol that actually gets used. Samba is what lets a Linux server speak that protocol fluently enough that Windows clients can’t tell the difference.
Why Samba Still Matters
Samba implements the SMB protocol Windows has used for file and printer sharing since the 1990s, now at version 3.1.1 in modern deployments. It lets a Linux server act as a file server, print server, or even a domain controller for a network of Windows machines, and it lets Linux clients mount shares hosted by Windows servers or NAS devices in return.
1
2
3
4
5
6
7
8
# Debian/Ubuntu
sudo apt install samba samba-common-bin

# RHEL/CentOS/Fedora
sudo dnf install samba samba-client

# Check the installed version
smbd --version
Tip: samba-common-bin (Debian/Ubuntu) pulls in smbpasswd and testparm, which you will need within the first five minutes of configuring anything. Don’t skip it.
Configuring a Basic Share
Samba’s entire server configuration lives in one file, /etc/samba/smb.conf, organized into a [global] section and one section per share.
1
2
3
4
5
6
7
8
9
10
11
12
13
14
# /etc/samba/smb.conf

[global]
   workgroup = WORKGROUP
   server string = Linux File Server
   security = user
   map to guest = bad user

[shared]
   path = /srv/samba/shared
   browseable = yes
   writable = yes
   guest ok = no
   valid users = @sambashare
1
2
3
4
5
6
7
8
# Create the directory and set permissions for the group
sudo mkdir -p /srv/samba/shared
sudo groupadd sambashare
sudo chgrp sambashare /srv/samba/shared
sudo chmod 2770 /srv/samba/shared

# Restart Samba to apply the config
sudo systemctl restart smbd nmbd
Tip: The 2770 mode sets the setgid bit, so every new file created in the share inherits the sambashare group automatically instead of the creating user’s primary group.
Creating Samba Users
Samba keeps its own password database, separate from the Linux system password, because Windows clients authenticate using a different hash scheme (NTLM) than Linux’s /etc/shadow.
1
2
3
4
5
6
7
8
9
10
11
12
# The Linux user must already exist before you can add a Samba password for it
sudo useradd -M -s /sbin/nologin alice
sudo usermod -aG sambashare alice

# Set the Samba password (prompts interactively)
sudo smbpasswd -a alice

# Enable the account
sudo smbpasswd -e alice

# List all Samba users
sudo pdbedit -L
Tip: smbpasswd -a does not create the Linux user; it only adds a Samba password for one that already exists. Create the Linux account first, or the command fails.
Validating Configuration with testparm
smb.conf has no built-in syntax checking in the daemon itself, so a broken config can silently fail to apply. testparm catches this before you restart the service.
1
2
3
4
5
# Check the config file for errors and print the effective settings
testparm

# Check without the interactive prompt, for use in scripts
testparm -s
Tip: Run testparm after every edit to smb.conf, before restarting smbd. It will tell you about a typo’d directive long before a confused user does.
Mounting a Samba Share from a Linux Client
Linux mounts CIFS/SMB shares with the same mount command used for any other filesystem, just with a different type and its own options.
1
2
3
4
5
6
7
8
9
10
11
12
13
14
15
16
17
18
# Install the client support if it's missing
sudo apt install cifs-utils

# Mount a share directly, prompting for a password
sudo mount -t cifs //fileserver/shared /mnt/shared -o username=alice

# Store credentials in a protected file instead of typing a password every time
sudo tee /etc/samba/creds-fileserver <<'EOF'
username=alice
password=supersecret
EOF
sudo chmod 600 /etc/samba/creds-fileserver

# Mount using the credentials file
sudo mount -t cifs //fileserver/shared /mnt/shared -o credentials=/etc/samba/creds-fileserver

# Make it persistent in /etc/fstab
echo "//fileserver/shared /mnt/shared cifs credentials=/etc/samba/creds-fileserver,uid=1000,gid=1000 0 0" | sudo tee -a /etc/fstab
Tip: Never put a plaintext password directly in /etc/fstab; it’s world-readable by default. A credentials file with chmod 600 keeps the password out of a file everyone on the system can read.
Browsing and Testing Shares with smbclient
smbclient is an FTP-like command-line client for SMB shares, useful for testing a share without actually mounting it.
1
2
3
4
5
6
7
8
9
10
11
12
13
# List shares available on a server
smbclient -L //fileserver -U alice

# Connect to a specific share interactively
smbclient //fileserver/shared -U alice

# Inside the smbclient prompt:
# get file.txt       download a file
# put file.txt        upload a file
# ls                  list the current directory

# Run a single command non-interactively
smbclient //fileserver/shared -U alice -c "ls"
Tip: smbclient -L is the fastest way to confirm a server is reachable and what it’s offering, before you spend time debugging a mount that was never going to work because the share name was wrong.
Joining Active Directory
Samba can authenticate against an existing Active Directory domain instead of maintaining its own separate user database, which is the common case in any office with Windows servers already in place.
1
2
3
4
5
6
7
8
9
10
11
12
# Install the AD client tools
sudo apt install realmd sssd adcli samba-common-bin

# Discover and join a domain
sudo realm discover example.com
sudo realm join example.com -U administrator

# Confirm the join
realm list

# Look up a domain user by name
getent passwd 'EXAMPLE\alice'
Tip: realmd handles the Kerberos and winbind plumbing for you. Joining a domain by hand-editing krb5.conf and smb.conf is still possible, but realm join is dramatically less error-prone.
Troubleshooting Samba
When a share “doesn’t work,” the fastest triage path is checking who’s actually connected, then the logs, before touching the configuration.
1
2
3
4
5
6
7
8
9
10
11
# Who is currently connected, and to which shares
sudo smbstatus

# Increase the log verbosity temporarily
sudo smbcontrol smbd debug 3

# Tail the log for a specific client
sudo tail -f /var/log/samba/log.smbd

# Test NetBIOS name resolution
nmblookup fileserver
Tip: smbstatus shows locked files as well as connections, which is the fastest way to explain why a user can’t delete or rename a file that “nobody else is using.”
Bonus: NetBIOS Name Resolution with nmblookup
Modern networks mostly rely on DNS, but SMB’s older NetBIOS-based name resolution is still in play on networks without proper DNS entries for every host.
1
2
3
4
5
6
7
8
# Resolve a NetBIOS name to an IP
nmblookup fileserver

# Broadcast query for any server with a given workgroup/domain
nmblookup -M WORKGROUP

# Show the local machine's own NetBIOS name
nmblookup -S $(hostname)
Tip: If ping fileserver fails but nmblookup fileserver succeeds, the problem is DNS, not the network path. Samba’s name resolution and your DNS server are two entirely separate systems.