Pi-hole: Network-Wide Ad Blocking with a Raspberry Pi (or Any Linux Box)
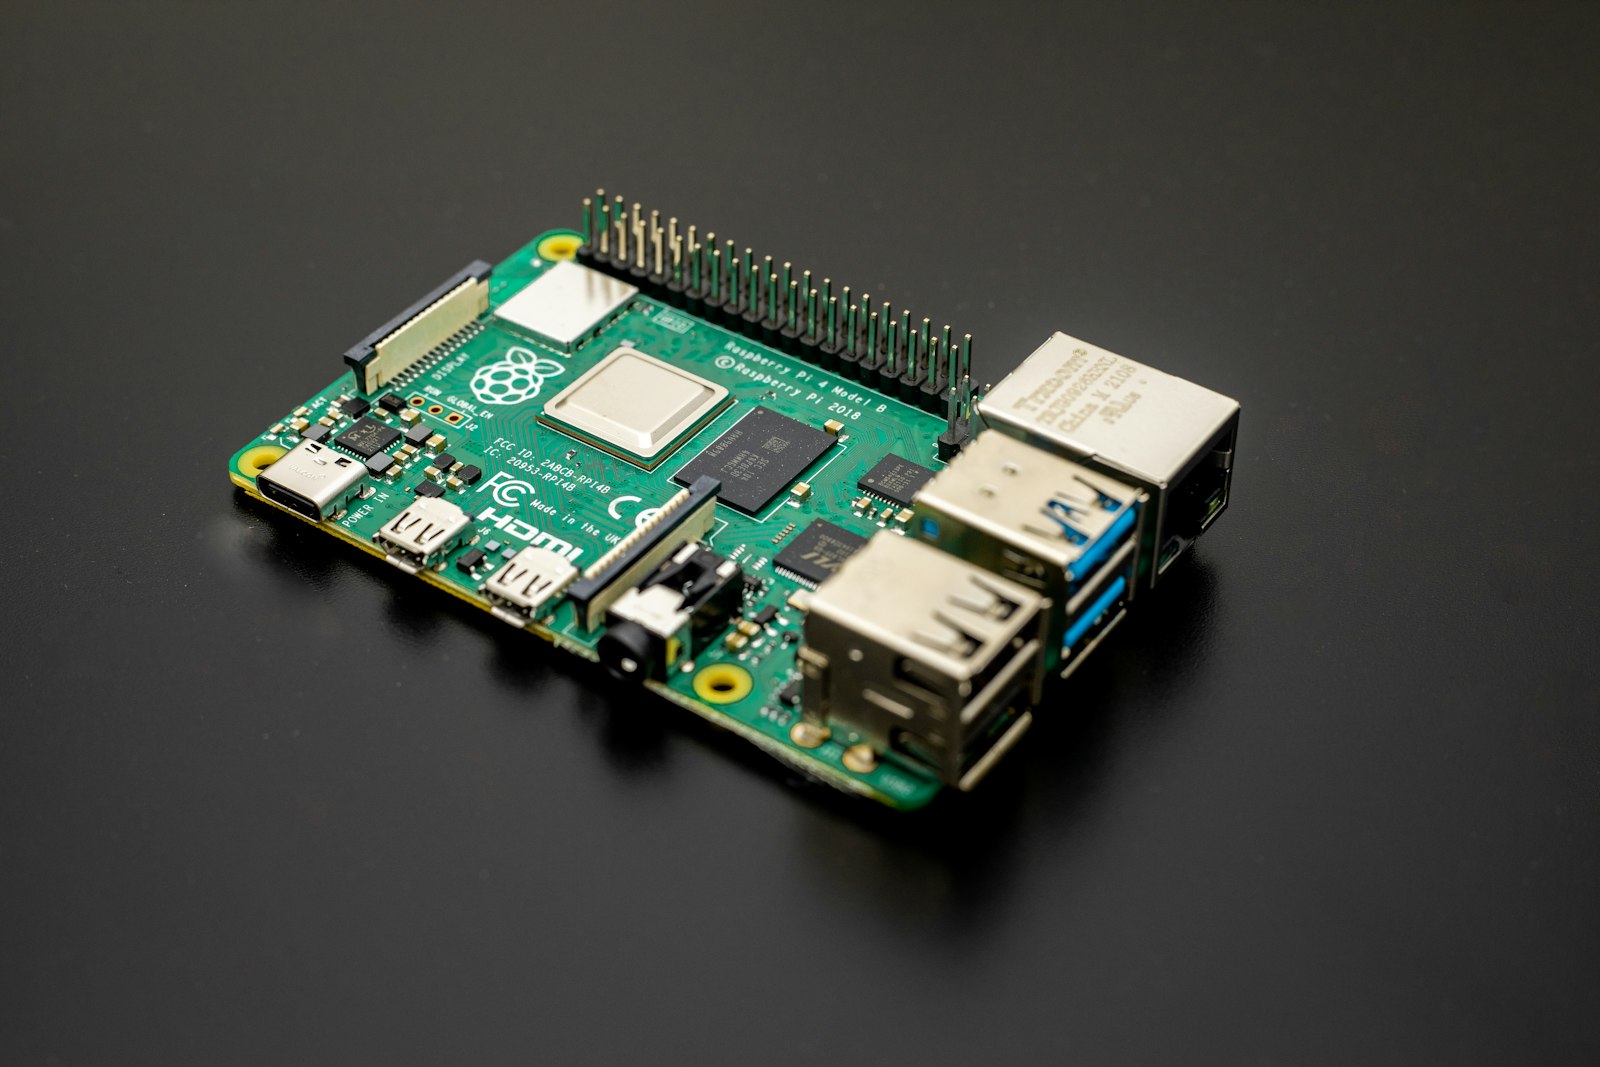
Browser ad-blocker extensions only protect the browser they’re installed in; a phone, a smart TV, or a game console gets none of that protection. Pi-hole solves this at the network level by acting as a DNS sinkhole: it answers DNS queries for known ad and tracking domains with nothing, so every device on the network benefits without installing a single extension.
How a DNS Sinkhole Actually Works
Pi-hole doesn’t block traffic by inspecting packets; it works purely at the DNS layer, refusing to resolve domains on its blocklists.
1
2
3
4
5
6
7
# A normal DNS lookup for an ad domain, resolved
dig doubleclick.net +short
# 172.217.x.x

# The same lookup through Pi-hole, blocked
dig @192.168.1.10 doubleclick.net +short
# 0.0.0.0
Tip: Because this is DNS-level blocking, it stops at the hostname. A site that serves ads from the same domain as its content won’t be touched — Pi-hole can’t selectively block parts of a page, only whole domains.
Installing Pi-hole
The official install script works identically on a Raspberry Pi or any Debian/Ubuntu-based server; a Raspberry Pi is popular mainly for its low power draw running 24/7.
1
2
3
4
5
6
curl -sSL https://install.pi-hole.net | bash

# During setup you'll be asked for:
# - the upstream DNS provider (e.g. Cloudflare, Google, or your own resolver)
# - which blocklists to enable
# - whether to install the web admin interface (recommended: yes)
Tip: Always read an install script before piping it into bash. For Pi-hole specifically, you can also clone the repo and run ./pihole-install locally if you’d rather not curl-pipe at all.
Pointing Your Network at Pi-hole
Pi-hole only blocks ads for devices that actually use it as their DNS server, which means a router-level change, not a per-device one.
1
2
3
4
5
# Check Pi-hole's own IP, this is what you'll hand out as DNS
hostname -I

# Then, on your router's DHCP settings, set the DNS server to Pi-hole's IP
# instead of your ISP's default or 8.8.8.8/1.1.1.1
Tip: Setting Pi-hole as DNS on the router, via DHCP, covers every device automatically. Configuring DNS device-by-device works too, but you’ll forget one, usually a smart TV or a guest’s phone.
The Admin Web Interface
Pi-hole ships with a dashboard for watching queries in real time and managing blocklists without touching the command line.
1
2
3
4
5
# The dashboard, once installed
http://<pihole-ip>/admin

# Reset or view the admin password from the CLI
pihole -a -p
Tip: The dashboard’s live query log is genuinely useful the first time you install Pi-hole — watching just how many background requests a phone makes per minute is an eye-opener.
Managing Blocklists
Pi-hole ships with a default blocklist, but its real power comes from adding curated lists for trackers, malware domains, and regional ad networks.
1
2
3
4
5
6
7
8
# List currently configured blocklists
pihole -a -l list

# Add a list via the CLI (or do this in the admin UI under Group Management > Adlists)
pihole -a adlist add https://example.com/blocklist.txt

# Pull the latest versions of all configured lists
pihole -g
Tip: More lists isn’t always better. Overlapping or overly aggressive lists increase false positives — sites breaking because a legitimate domain got swept up in a blocklist — more than they improve blocking.
Whitelisting and Blacklisting Domains
When a site breaks because of over-blocking, or you want to block something the default lists missed, you manage it domain by domain.
1
2
3
4
5
6
7
8
9
# Allow a domain that's incorrectly blocked
pihole -w example-analytics.com

# Block a specific domain outright
pihole -b ads.annoying-site.com

# See what's currently whitelisted/blacklisted
pihole -w -l
pihole -b -l
Tip: When a page looks broken, check the Pi-hole query log before assuming it’s your blocklists; it’ll show exactly which domain on that page got blocked, saving you from guessing.
Using Pi-hole as Your DHCP Server
Pi-hole can take over DHCP entirely, which is useful if your router’s DHCP settings are limited or you want DNS and DHCP managed in one place.
1
2
3
# Enable in the admin UI under Settings > DHCP, or via CLI config
pihole -a -i local
pihole -a enabledhcp <range-start> <range-end> <router-ip> <lease-time>
Tip: Only run one DHCP server on a network at a time. Enabling Pi-hole’s DHCP server without disabling your router’s will cause intermittent, maddening-to-diagnose IP conflicts.
Monitoring Query Stats and Setting Up High Availability
The dashboard’s statistics page shows blocked-percentage trends over time, and Pi-hole’s data can be backed up or mirrored to a second instance for redundancy.
1
2
3
4
5
6
7
8
# Back up Pi-hole's settings and blocklists
pihole -a -t

# Query percentage blocked today, from the CLI
pihole -c

# Run a second Pi-hole and point half your devices at it, or use
# keepalived/round-robin DNS so DNS resolution survives one instance going down
Tip: A single Pi-hole instance is also a single point of failure for your entire network’s DNS. If it goes down and nothing else is configured as a fallback resolver, no device on the network can resolve anything — plan for a second instance or at least a documented fallback DNS server.