iSCSI and Multipath on Linux: Connecting to Network Block Storage
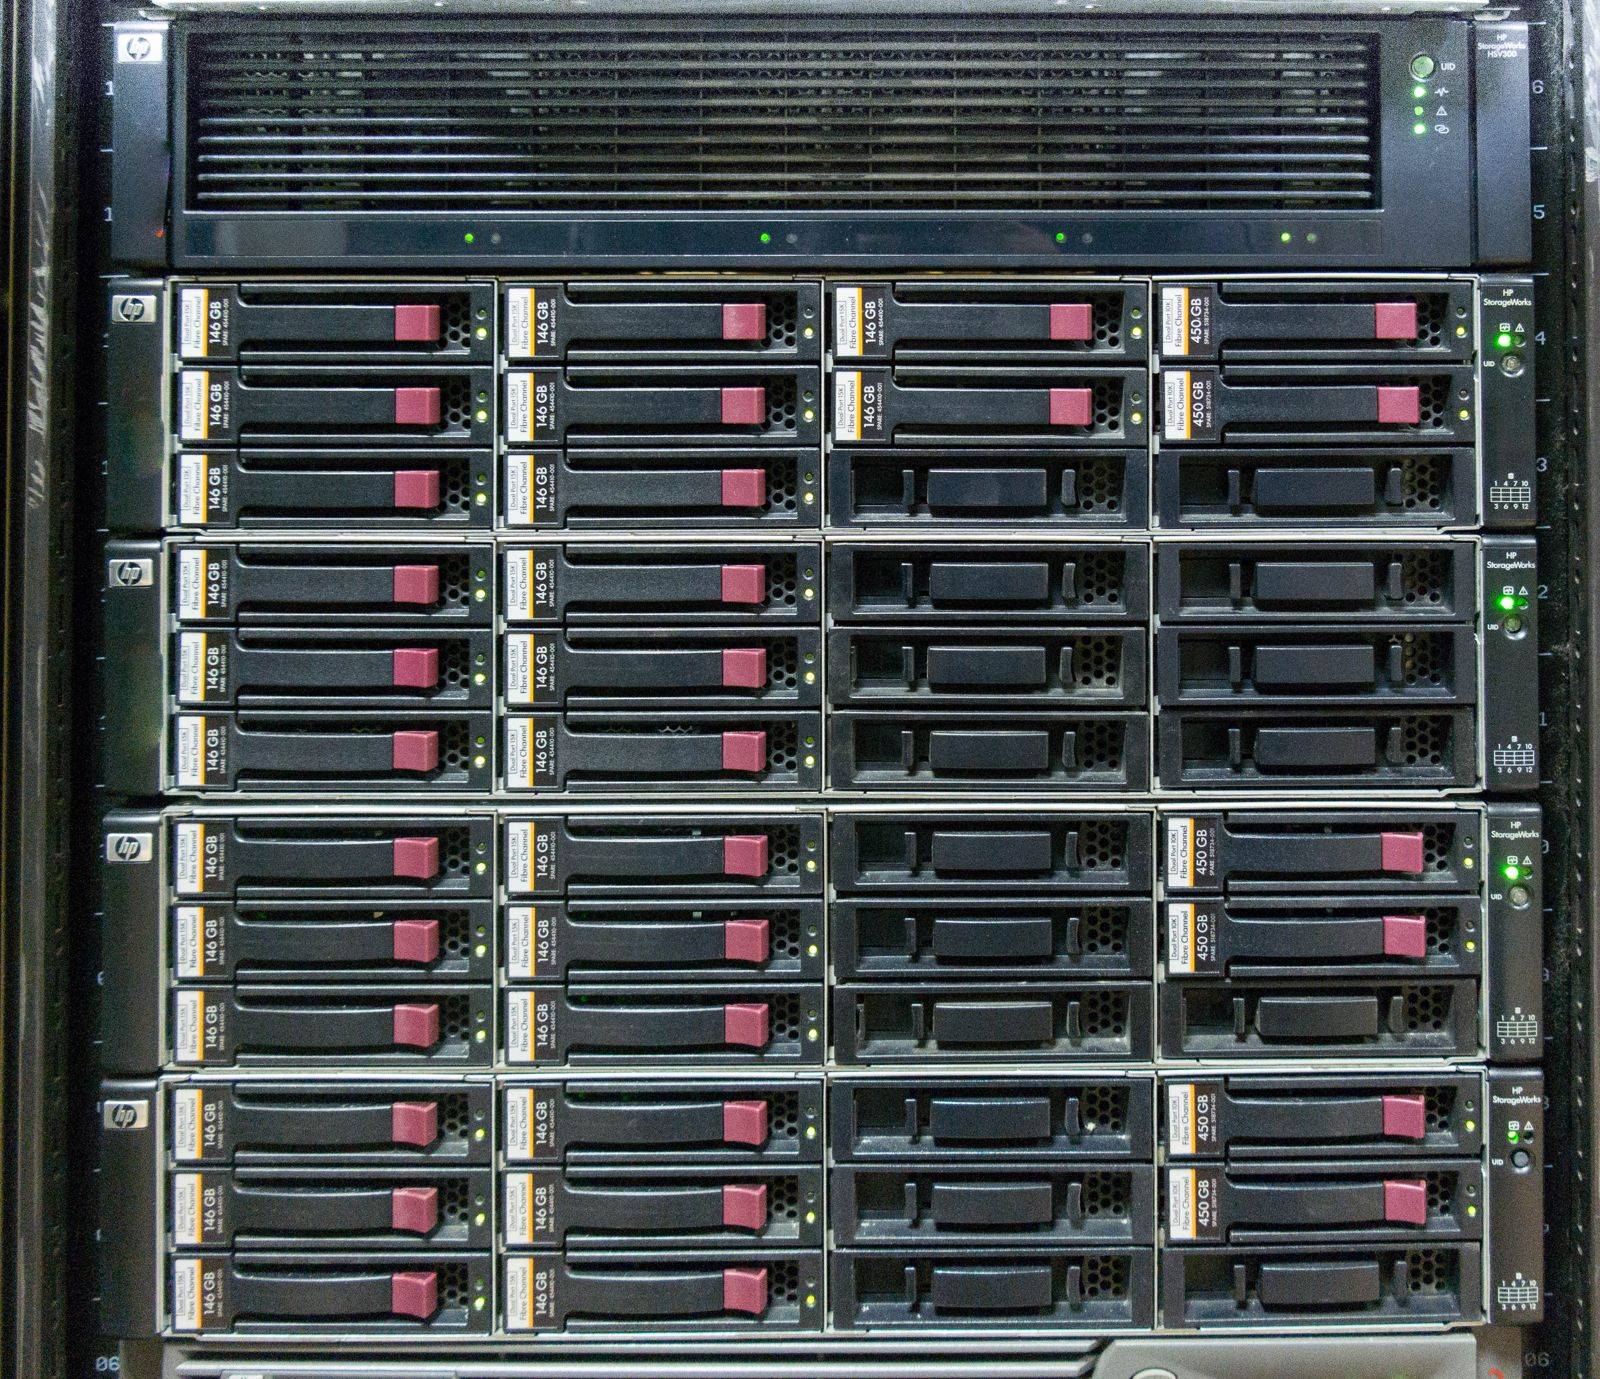
NFS and Samba share files; iSCSI shares block devices over an ordinary IP network, and the client treats the result exactly like a local disk — partition it, format it, put LVM on top of it, whatever you’d do with a local drive. This post covers connecting to an iSCSI target and using multipath to survive a single network or controller failure.
iSCSI Terminology
Before touching a command, the four terms that show up everywhere: the target (the storage being shared), the initiator (the client connecting to it), the IQN (iSCSI Qualified Name, a unique identifier for each side), and the portal (the target’s IP:port, usually 3260).
1
2
# A typical IQN format
iqn.2012-12.com.example:storage.target01
Tip: IQNs are globally meant to be unique, built from a reversed domain name and a date the domain was controlled, exactly like Java package naming. You rarely need to construct one by hand — iscsiadm generates your initiator’s IQN automatically on first install.
Installing the Initiator
The client-side package is open-iscsi (Debian/Ubuntu naming) or iscsi-initiator-utils (RHEL family), both built around the same iscsiadm CLI.
1
2
3
4
5
6
sudo apt install open-iscsi             # Debian/Ubuntu
sudo dnf install iscsi-initiator-utils  # RHEL/CentOS/Fedora

# Your initiator's generated IQN
cat /etc/iscsi/initiatorname.iscsi
# InitiatorName=iqn.1993-08.org.debian:01:a1b2c3d4e5f6
Tip: If you’re cloning VM images, this initiator name gets cloned too — two machines with the same IQN will confuse a target that does per-initiator access control. Regenerate it on clones with iscsi-iname.
Discovering Targets
Discovery asks a portal what targets it’s willing to export, before you commit to logging into any of them.
1
2
3
4
5
sudo iscsiadm -m discovery -t sendtargets -p 10.0.0.50:3260
# 10.0.0.50:3260,1 iqn.2012-12.com.example:storage.target01

# Discovered targets are cached locally
sudo iscsiadm -m node
Tip: Discovery doesn’t grant access by itself — it just tells you what’s visible from this portal. Actual access control is enforced separately, often via IP-based ACLs or CHAP authentication configured on the target.
Logging Into a Target
Logging in establishes the session and, on success, hands you a new local block device, exactly as if you’d plugged in a drive.
1
2
3
4
5
6
sudo iscsiadm -m node -T iqn.2012-12.com.example:storage.target01 -p 10.0.0.50:3260 --login
# Logging in to [iface: default, target: iqn.2012-12.com.example:storage.target01, portal: 10.0.0.50,3260]
# Login to [...] successful.

lsblk
# sdc    8:32   0   500G  0 disk
Tip: The new device name (/dev/sdc here) isn’t guaranteed to be stable across reboots if other disks come and go. Reference the LUN by its /dev/disk/by-path/ or /dev/disk/by-id/ symlink in /etc/fstab, not the raw /dev/sdX name.
Making the Login Persistent
By default, a login doesn’t survive a reboot unless the node is marked to connect automatically at boot.
1
2
3
sudo iscsiadm -m node -T iqn.2012-12.com.example:storage.target01 -p 10.0.0.50:3260 --op=update -n node.startup -v automatic

sudo systemctl enable iscsid open-iscsi
Tip: node.startup=automatic only reconnects targets already discovered and logged into once. On a freshly rebuilt host, you still need to run discovery and the first login manually before this setting has anything to act on.
Why Multipath Matters
A single iSCSI session over a single NIC and a single network path is a single point of failure — lose that link, and the storage disappears mid-operation. Multipath presents the same LUN reached over multiple independent paths as one resilient device.
1
2
3
4
# Two NICs, two portals, same target = two independent paths to the same LUN
sudo iscsiadm -m discovery -t sendtargets -p 10.0.0.50:3260
sudo iscsiadm -m discovery -t sendtargets -p 10.0.1.50:3260
sudo iscsiadm -m node --login
Tip: Multipath redundancy requires genuinely separate paths — different NICs, different switches ideally, different target controller ports. Two sessions over the same single NIC give you two device names but not real redundancy.
Configuring multipath-tools
With both sessions logged in, lsblk shows the same underlying LUN as two separate device names; multipath is what merges them back into one.
1
2
3
4
5
sudo apt install multipath-tools   # Debian/Ubuntu
sudo dnf install device-mapper-multipath  # RHEL/CentOS/Fedora

sudo mpathconf --enable --with_multipathd y
sudo systemctl enable --now multipathd
Tip: multipath -t prints the compiled-in default config, which is a solid starting point to understand the format before you write a custom /etc/multipath.conf.
Checking Path Status
multipath -ll is the command to learn by heart — it shows every path to every multipathed device and whether each one is active or failed.
1
2
3
4
5
6
7
sudo multipath -ll
# mpatha (36001405...) dm-2 LIO-ORG,TARGET01
# size=500G features='0' hwhandler='1 alua' wp=rw
# |-+- policy='service-time 0' prio=50 status=active
# | `- 3:0:0:0 sdc 8:32 active ready running
# `-+- policy='service-time 0' prio=10 status=enabled
#   `- 4:0:0:0 sdd 8:48 active ready running
Tip: status=active on one path group and status=enabled on another is normal with an ALUA-aware target — it means one path is preferred and the other is standby, not broken. Both show ready running when healthy.
Using the Resulting Device
The multipathed device appears under /dev/mapper/, and from here on it’s treated exactly like any other block device — partition, format, mount, or hand to LVM.
1
2
3
4
5
6
7
8
ls /dev/mapper/
# mpatha

sudo mkfs.xfs /dev/mapper/mpatha
sudo mount /dev/mapper/mpatha /mnt/san-storage

# Reference by the stable mapper name in /etc/fstab, never /dev/sdc directly
echo "/dev/mapper/mpatha /mnt/san-storage xfs defaults,_netdev 0 0" | sudo tee -a /etc/fstab
Tip: The _netdev mount option tells the init system this filesystem depends on the network being up first. Omitting it on a network-backed block device is a classic cause of boot hangs or mount failures on restart.